Инструкции
В Google Play или App Store Вы можете купить именно курс, а не подписку на него. Поэтому, если Вам нужна именно подписка – оформляйте заказ на сайте, а в приложениях скачивайте те курсы, подписку на которые Вы оплатили и Вы сможете ими пользоваться то количество времени, на которое оплатили подписку (на 1 месяц, 3 месяца, 6 месяцев или год).
Внимание: вводите Ваш логин и пароль под которыми была произведена оплата.
Далее Вы можете использовать курс. Вам доступны все разделы в теории и практике. Обратите внимание, что не все курсы доступны по подписке. Подписка распространяется только на те платформы, которые указаны в покупке.
Выбрав курс и нажав "Установить" приложение будет установлено на Ваше устройство. Нажмите "Начать", после этого Вы сможете подключить Ваш аккаунт, созданный на Chess King. Введите логин и пароль (под которым была произведена оплата на ChessKing.com) и нажмите кнопку "Подключить". Далее Вы можете использовать курс. Вам доступны все разделы в теории и практике.
Если Вы еще не зарегистрированы, то можете нажать кнопку "Регистрация" и заполнить необходимые поля формы.
Вы можете не регистрироваться на Chess King, если хотите получить полный доступ к курсу через мобильное приложение, но при этом Ваша статистика не будет синхронизироваться между устройствами и в случае проблем с устройством – она может безвозвратно пропасть.
Также, Вы можете бесплатно ознакомиться с нашими продуктами, скачав соответствующие приложения. Доступ будет неполным и, при желании, Вы можете получить полные возможности, оплатив курс. В меню раздела "Главное" доступен пункт "Купить", где Вы можете выбрать удобный для Вас способ оплаты. Внизу главной страницы кнопка "Подробнее" покажет таблицу курсов, разбитых по уровням.
Возможность оплаты подписки на курсы доступна только при заказе на нашем сайте в разделе оформления подписки. В Google Play или App Store Вы можете купить именно курс, а не подписку на него. Поэтому, если Вам нужна именно подписка – оформляйте заказ на сайте, а в приложениях скачивайте те курсы, подписку на которые Вы оплатили и Вы сможете ими пользоваться то количество времени, на которое оплатили подписку (на 1 месяц, 3 месяца, 6 месяцев или год).
Ultimate – объединяет возможность работы под всеми типами платформ (Web, Android, iOS)
Выбирая тип платформы Ultimate – Вы сможете работать под Web – зайдя на ресурс под логином и паролем с которого оплачивали доступ см. раздел для работы через Web-интерфейс , Android, iOS – скачав приложение см. выше инструкцию для работы под платформами Android, iOS.
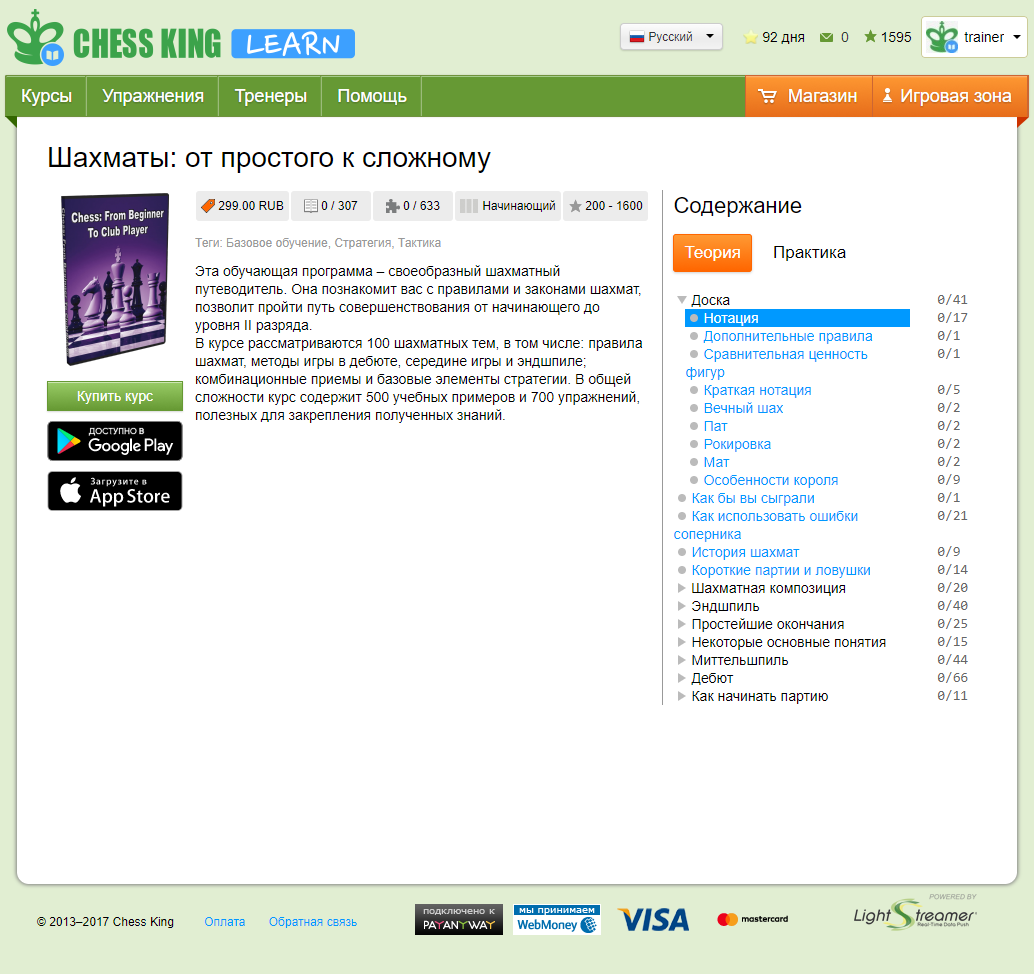
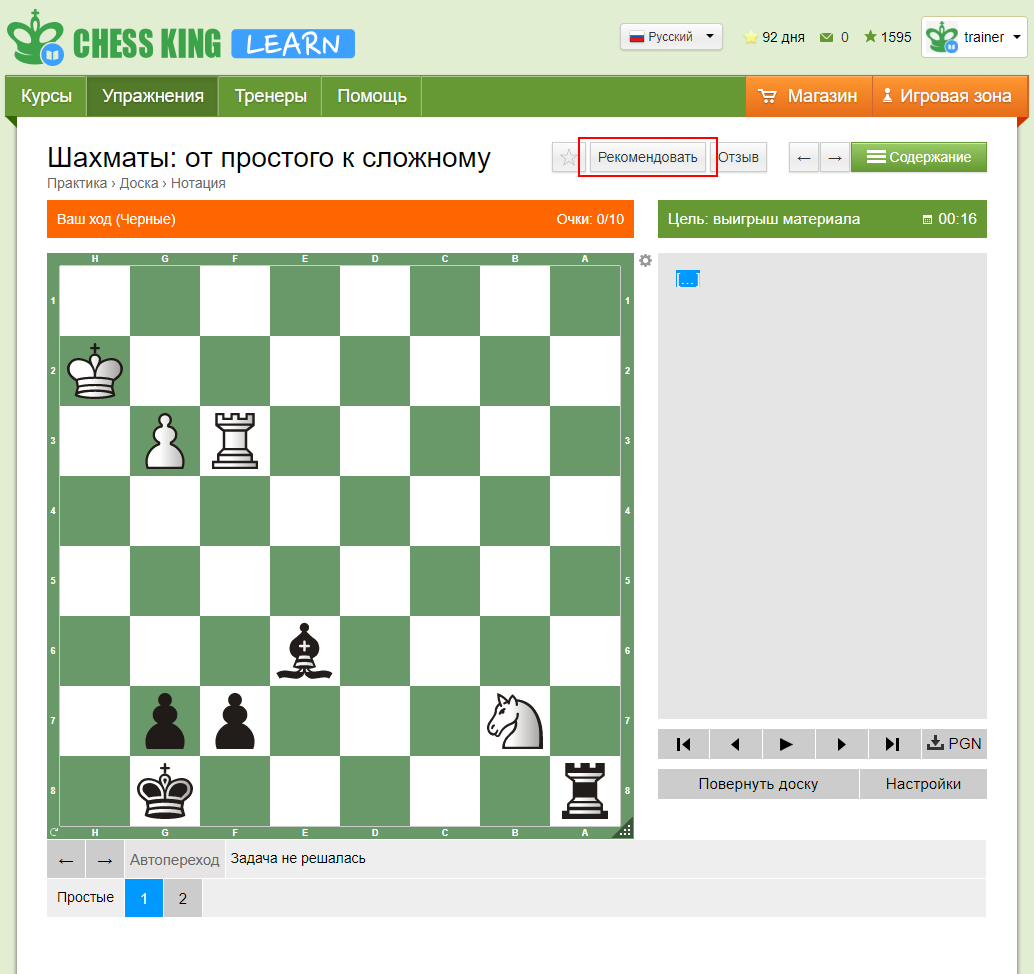
Нужно зайти в курс, материалы которого Вы планируете рекомендовать, выбрать раздел в содержании
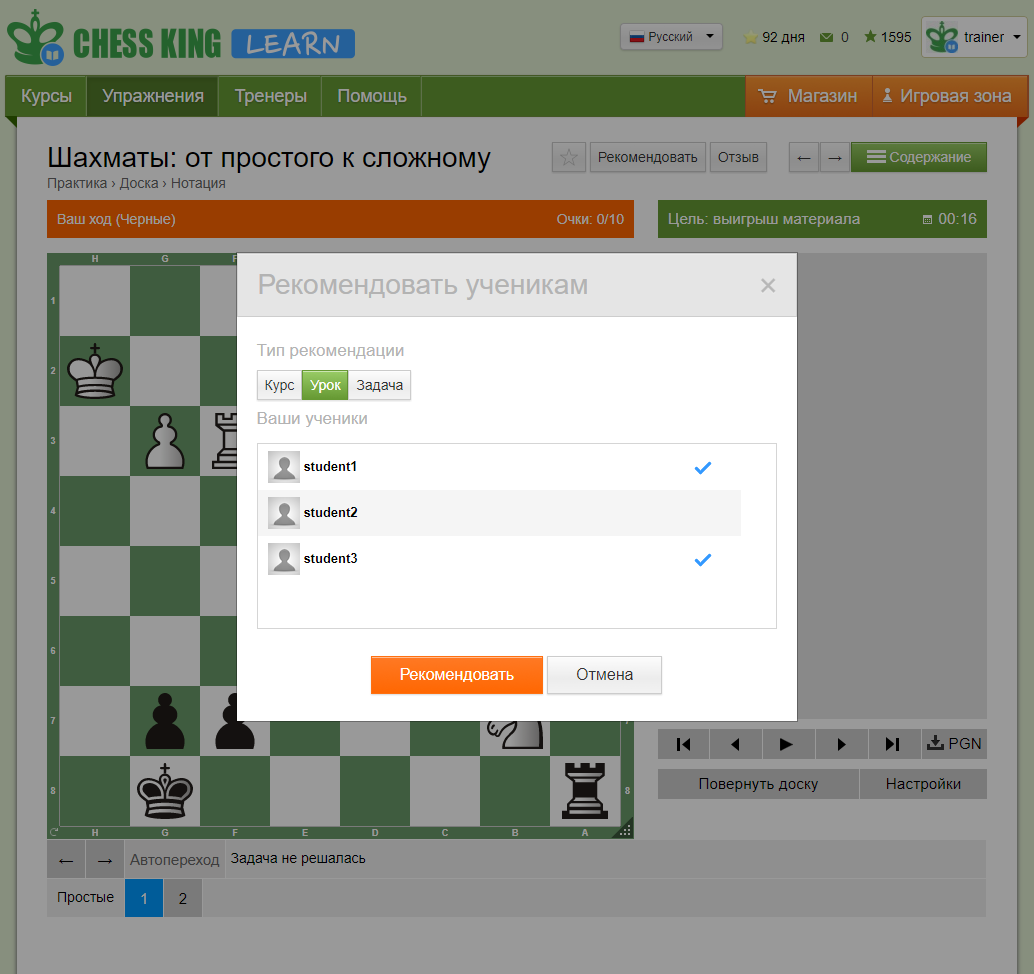
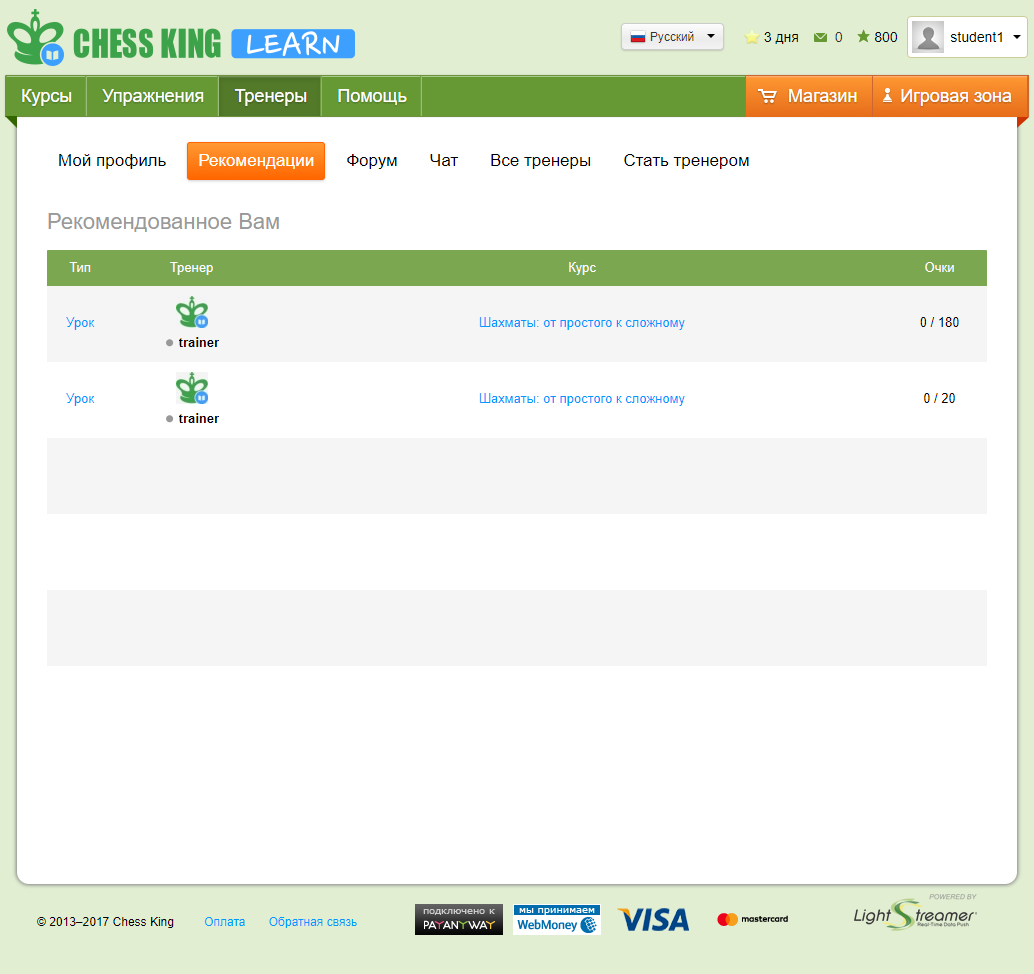
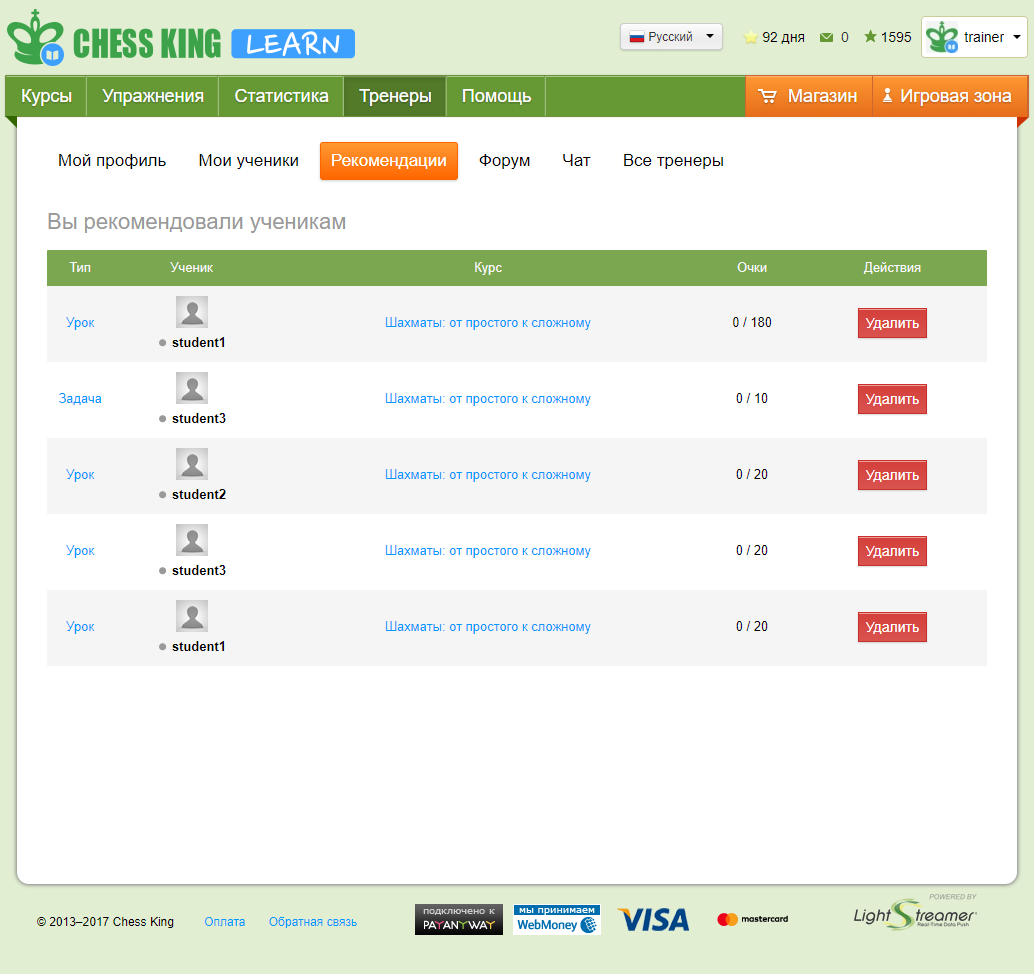
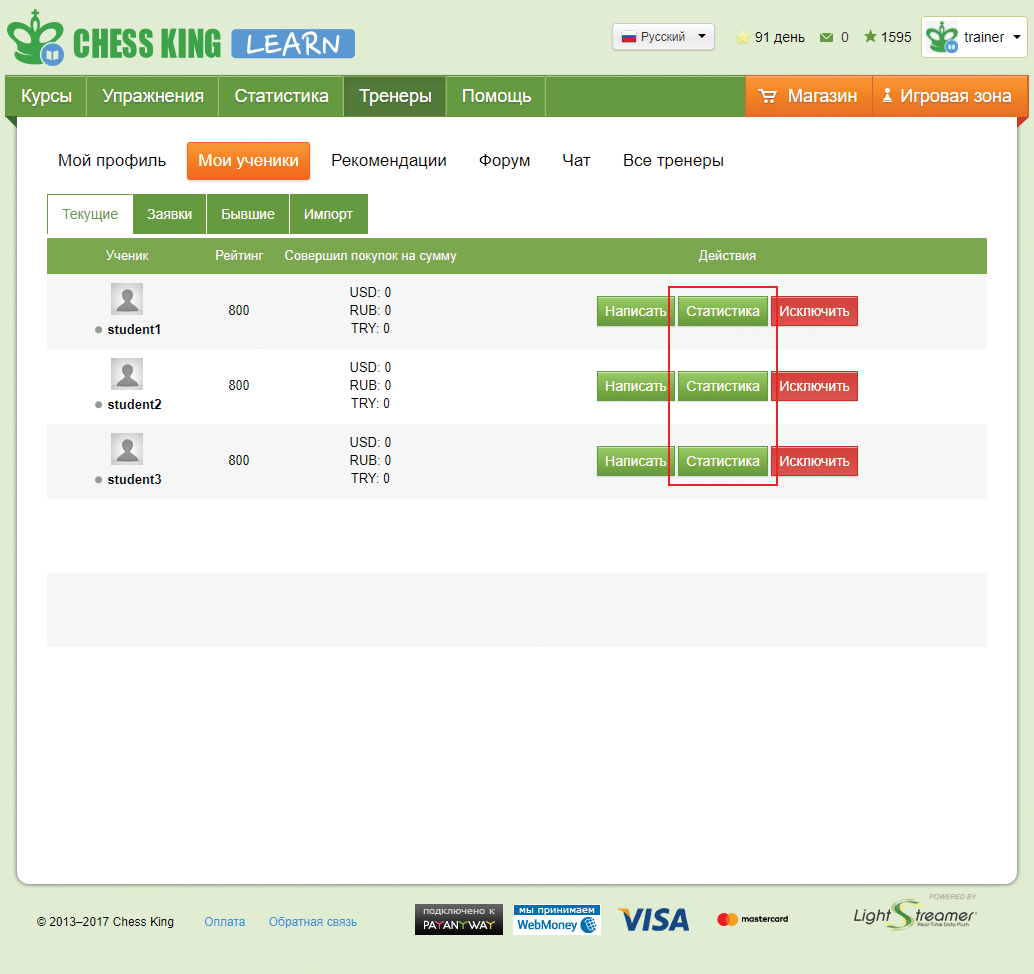
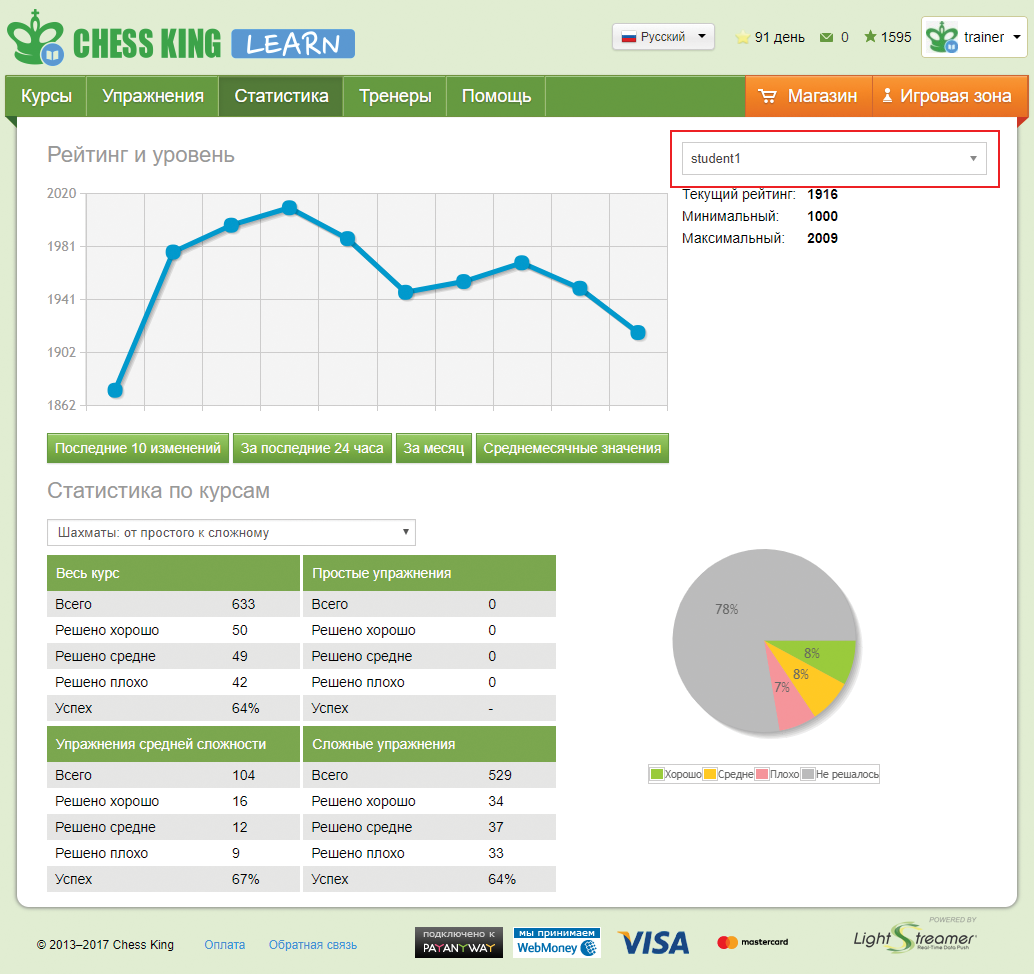
Статистика по курсам - успеваемость по конкретному курсу.
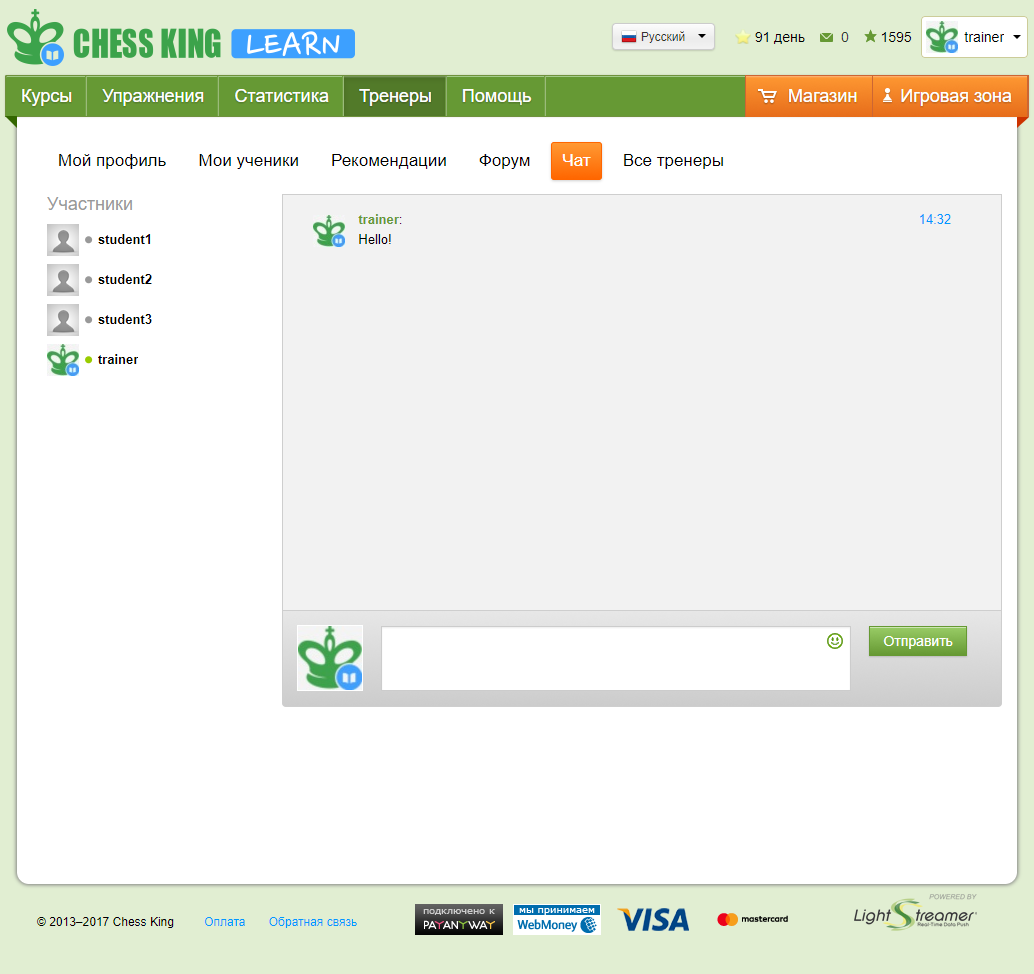
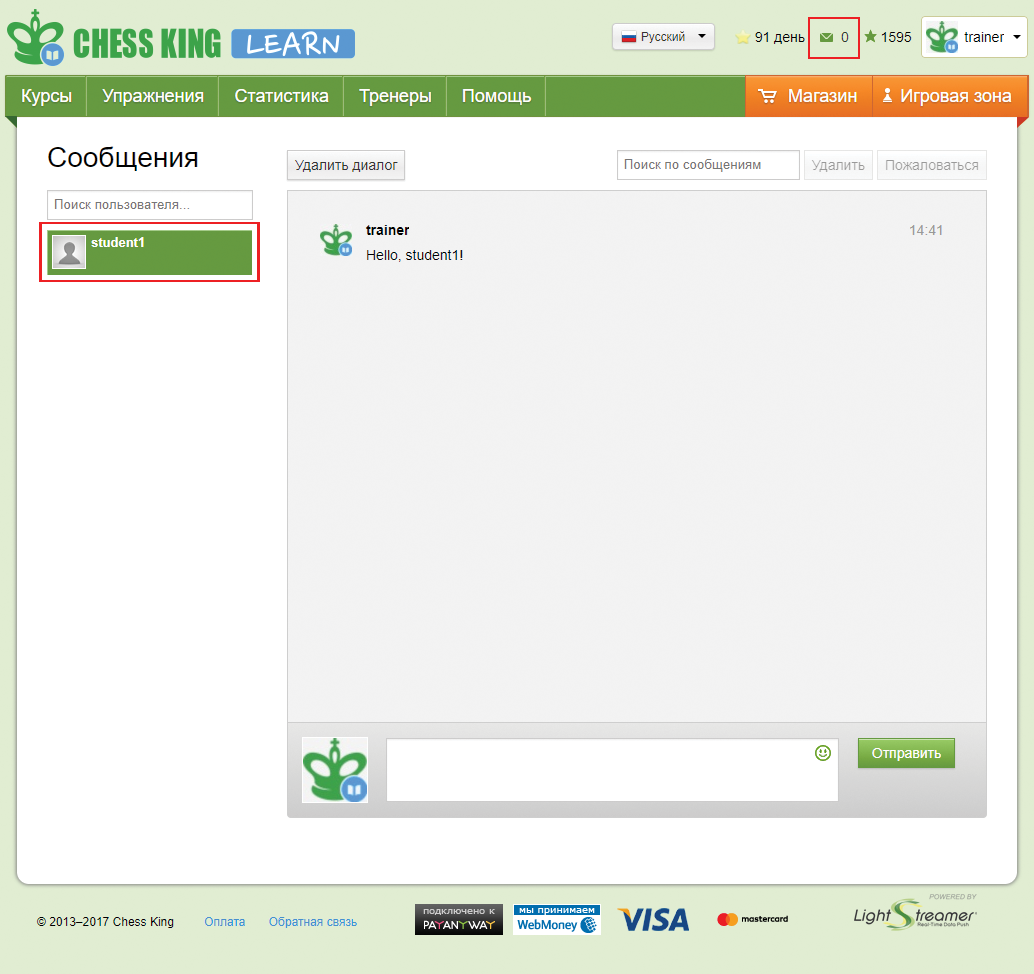
Для создания форума перейдите в раздел "Тренеры" -> "Форум" и нажмите кнопку "Создать форум тренера"
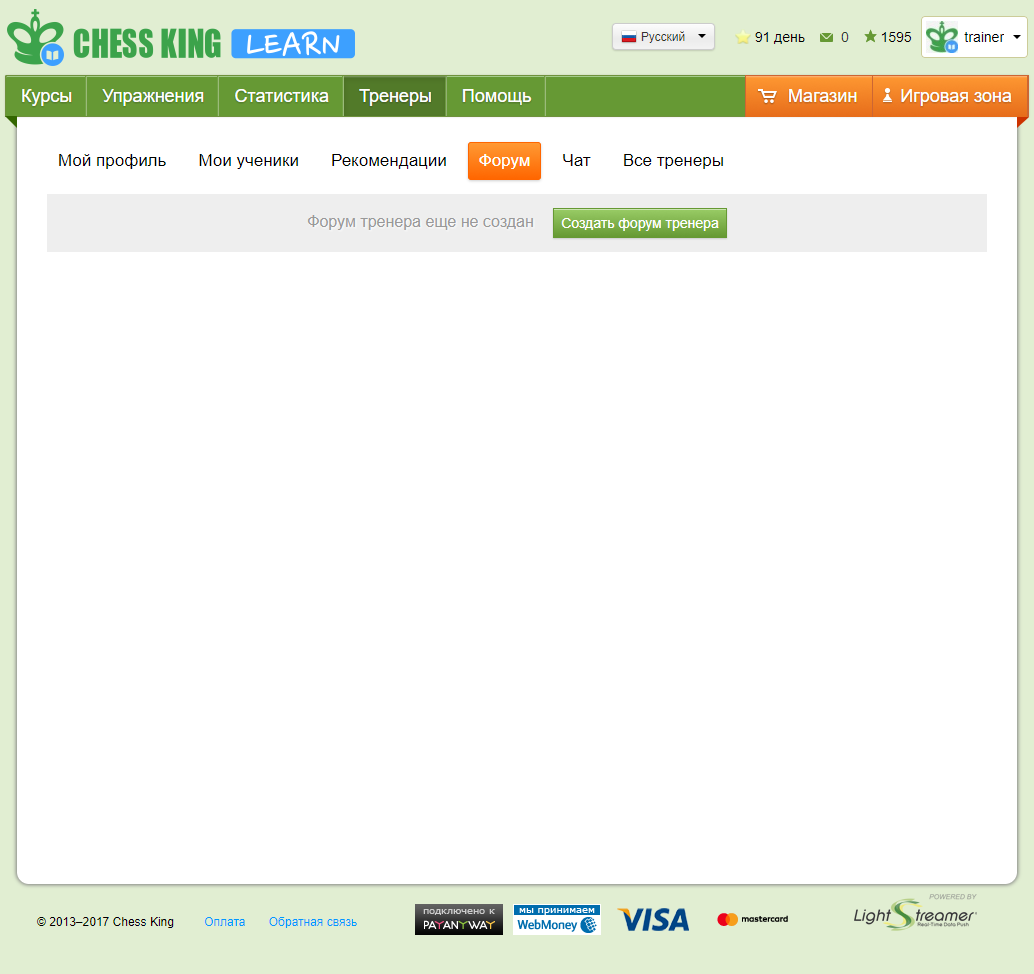
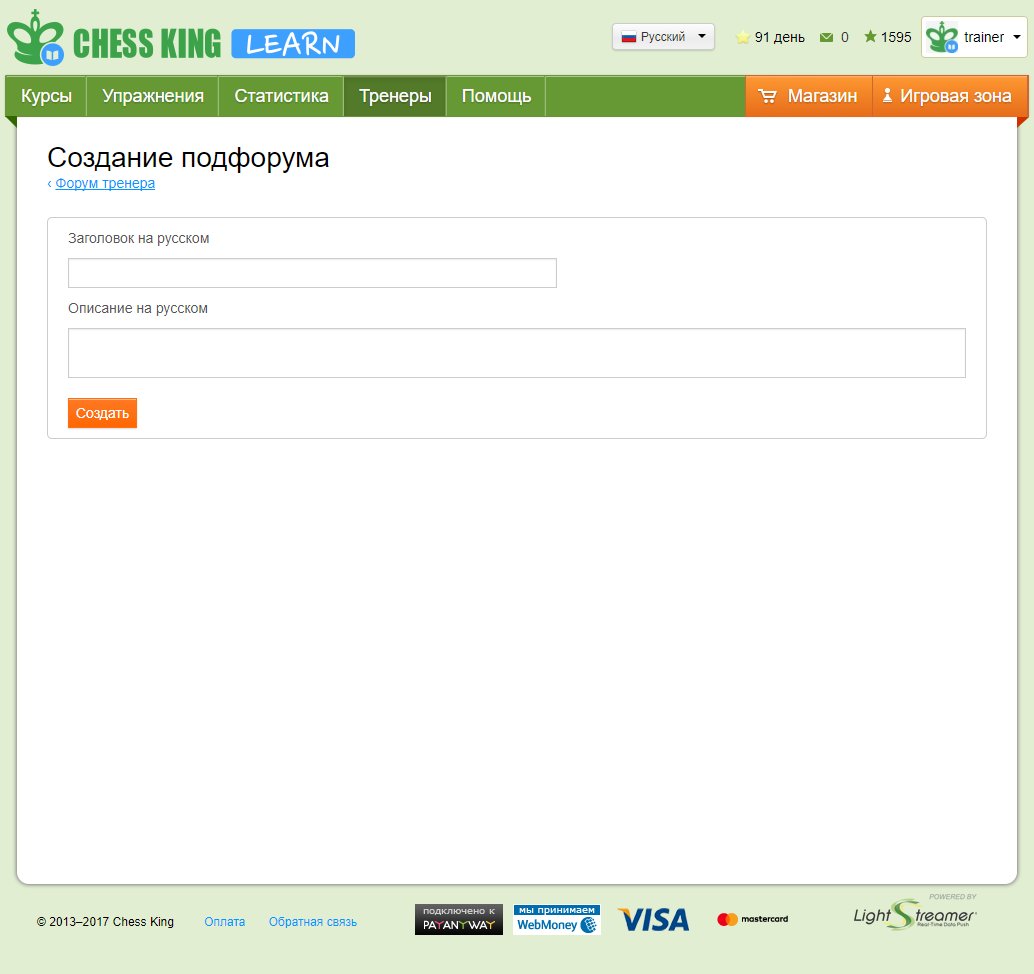
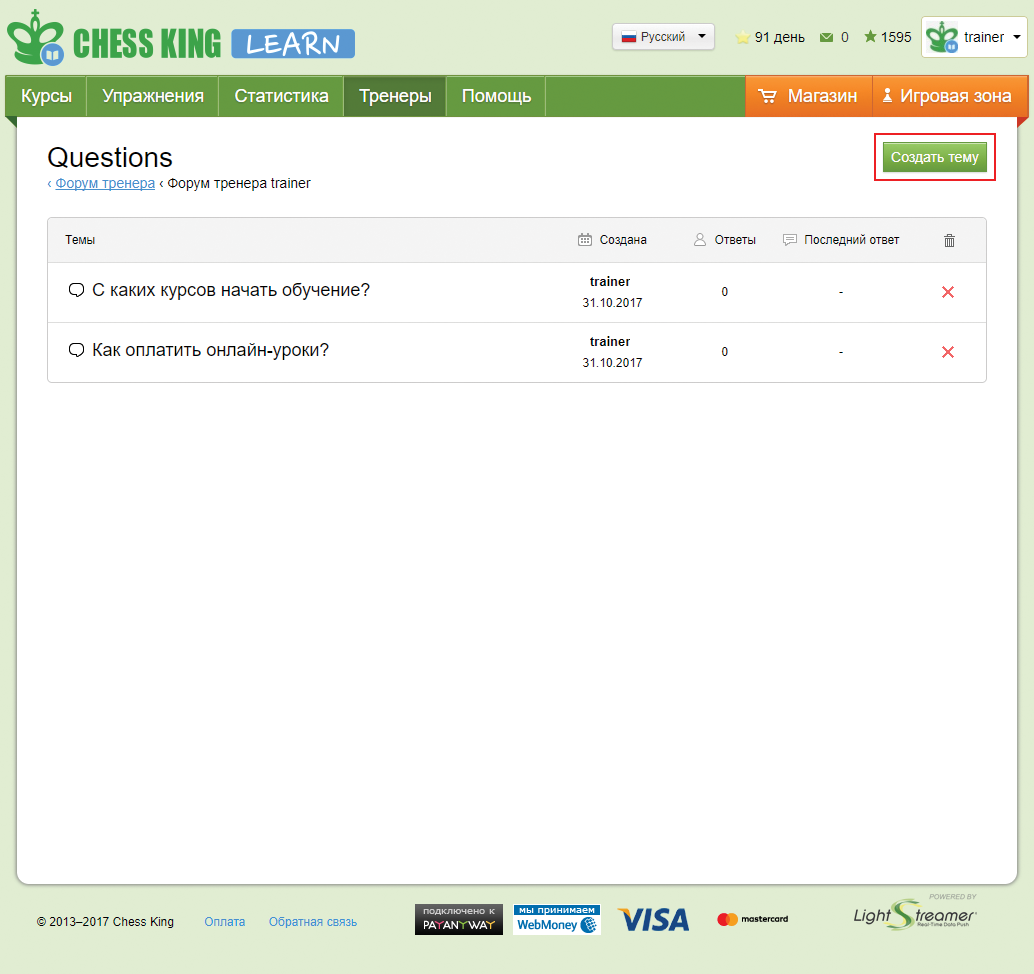
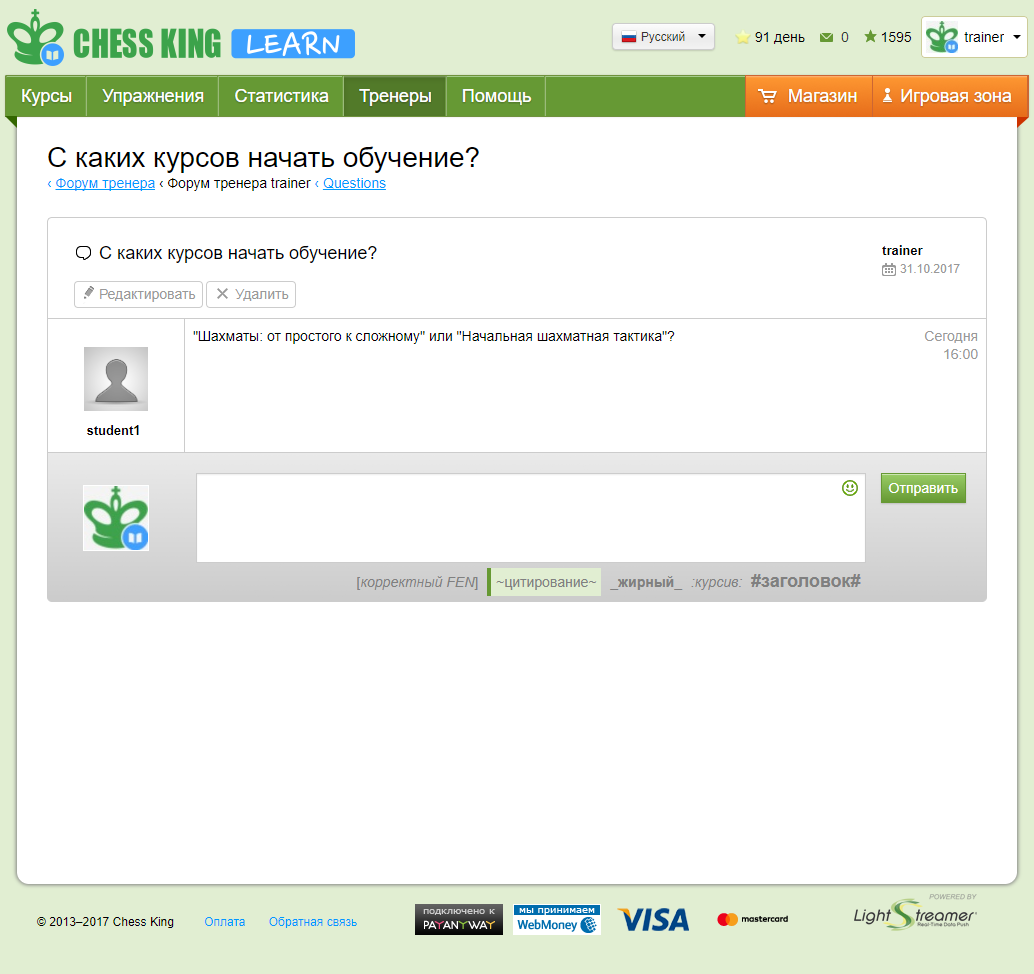
Ваши ученики в разделе "Тренеры" -> "Форум" смогут писать комментарии к темам, обсуждать их.
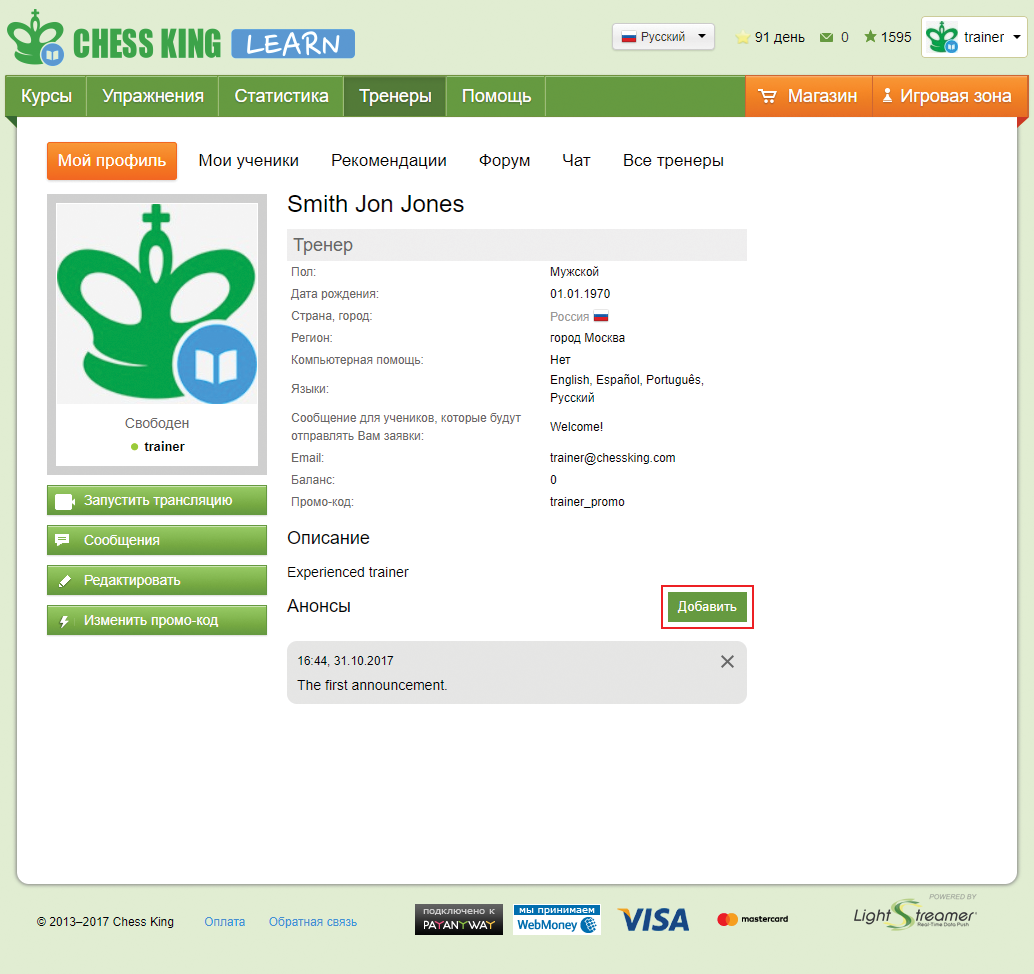
Если Ваши ученики будут совершать покупки курсов или подписок на курсы на learn.chessking.com Ваш баланс будет пополняться автоматически на 15 % от стоимости покупки. Посмотреть баланс Вы можете в своем профиле – "Баланс".
При накоплении суммы более 3000р - мы переведем Ваши деньги на PayPal аккаунт или Вашу карту Сбербанка, реквизиты которых Вы указали в своем профиле. Для перевода денежных средств, Вам необходимо написать письмо на chesskingweb@gmail.com.
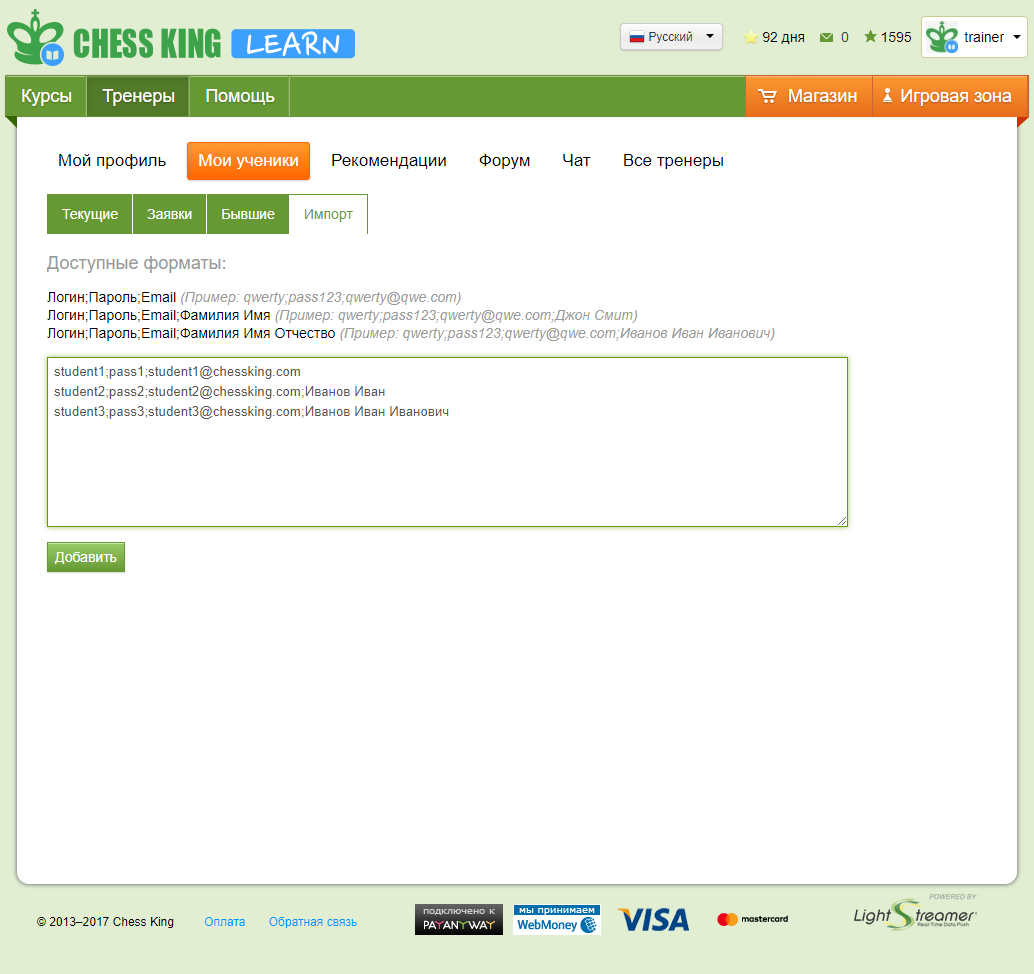
Сначала логин, затем пароль для него и электронную почту ученика.
Нажмите кнопку Тренеры. Не забудьте сохранить себе куда-то данные тестового ученика, чтобы в дальнейшем заходить через него и посмотреть, что во время вашей лекции видят ученики.
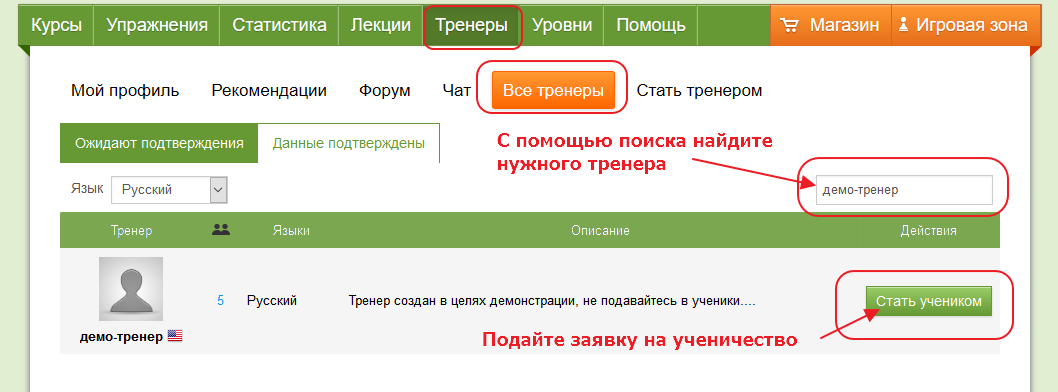
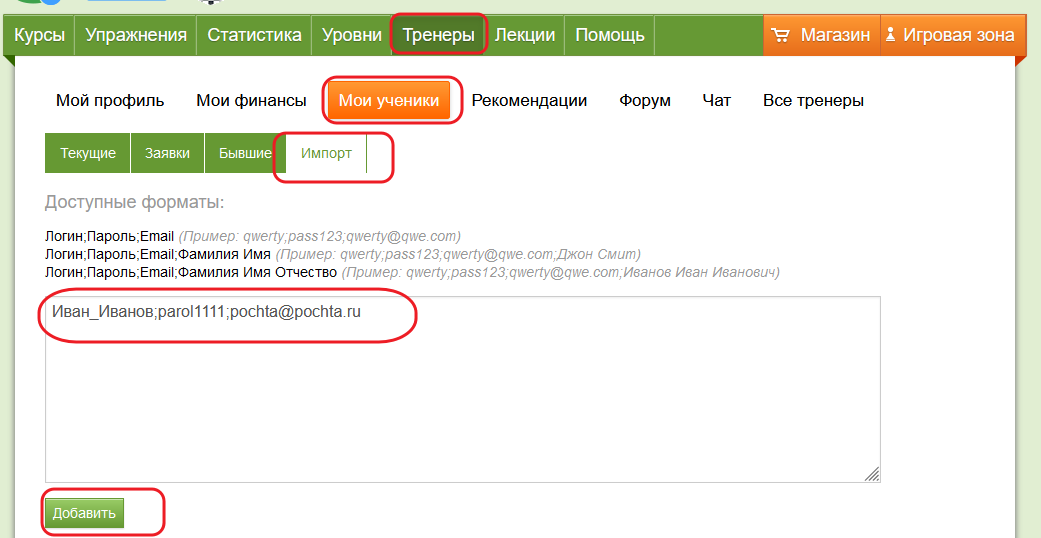 Созданные таким образом учетные записи можно раздать ученикам, чтобы им не пришлось регистрироваться на платформе самостоятельно и искать вас в списке тренеров, чтобы подать заявку.
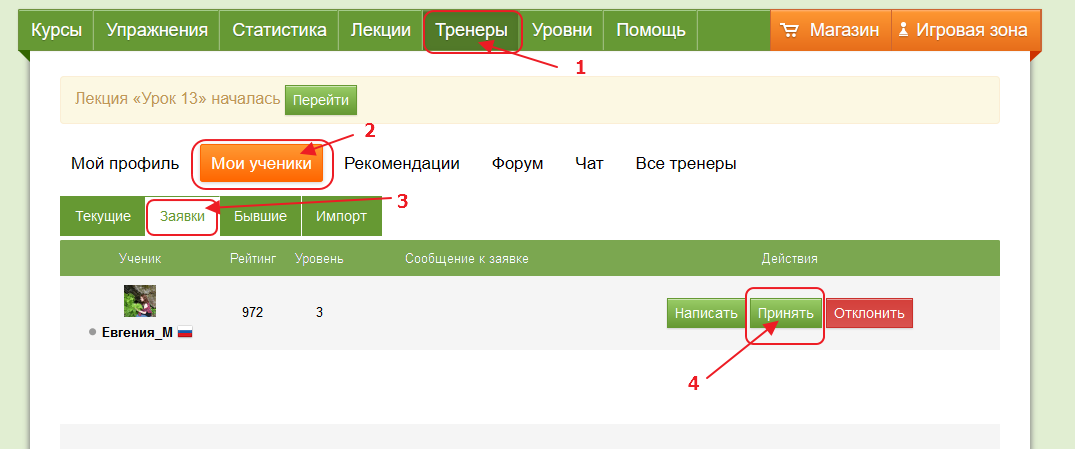
 После этого вам как тренеру надо принять заявку в разделе Тренеры -> Мои ученики.
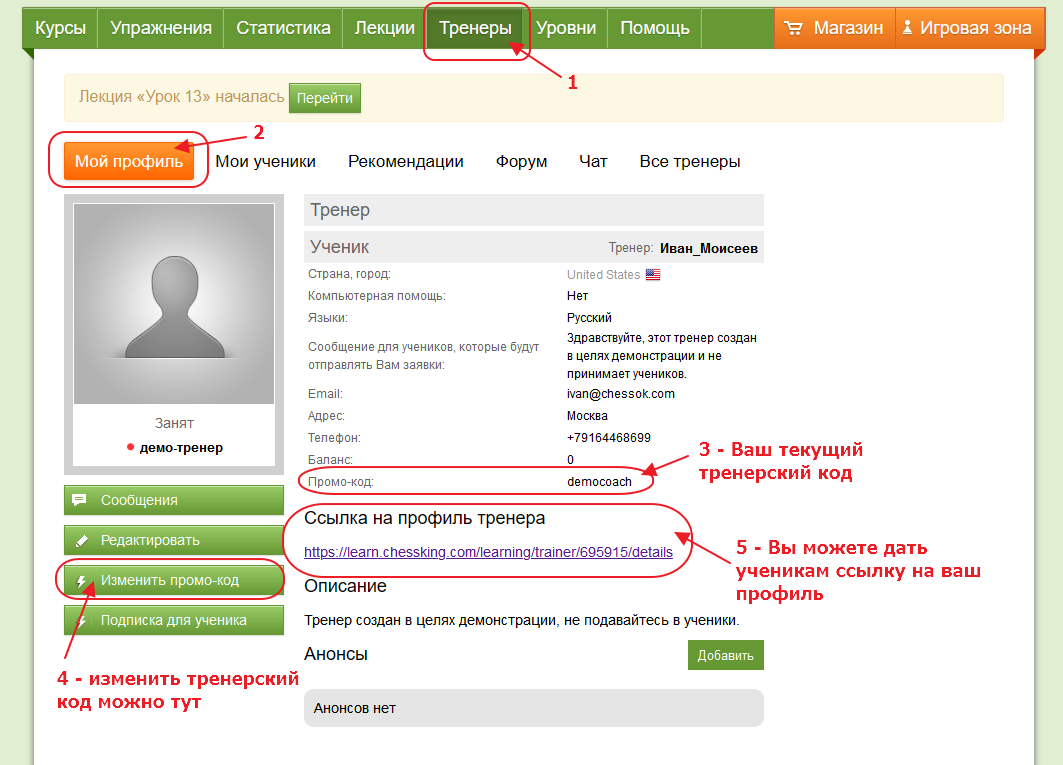 Пройдя по ссылке, ученику надо будет нажать на кнопку Стать учеником под картинкой вашего профиля.
  Лекцию можно начать немедленно, с помощью кнопки Начать лекцию, а можно запланировать на какое-то определенное время и дату – это делается с помощью кнопки Добавить лекцию.
 Вы можете проводить лекции только для учеников – такие лекции не видны никому кроме приглашенных учеников. Вы также можете создать открытую лекцию для всех желающих – такая лекция будет видима для всех пользователей портала. Участие в открытой лекции можно сделать платным - тренер получит 50% от внесенной оплаты.
Для тестирования рекомендуем использовать тестовых учеников.
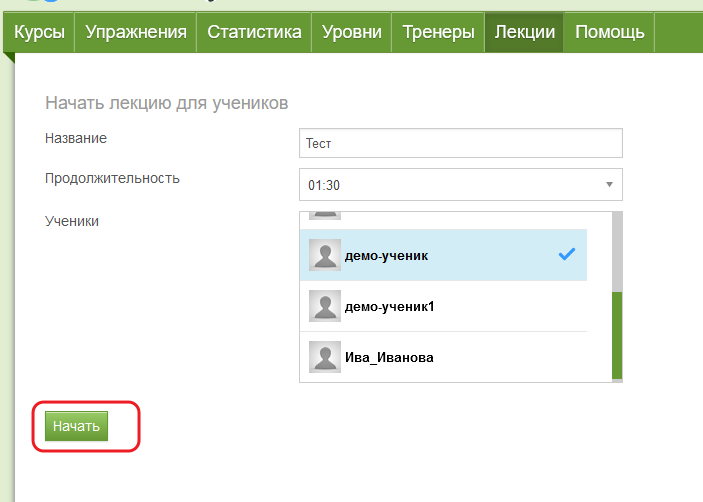
Начните тест, используя кнопку Начать лекцию. Перед стартом лекции, вы можете выбрать, для каких учеников будет доступна лекция, таких учеников нужно отметить галочками. Затем нажмите кнопку Начать.
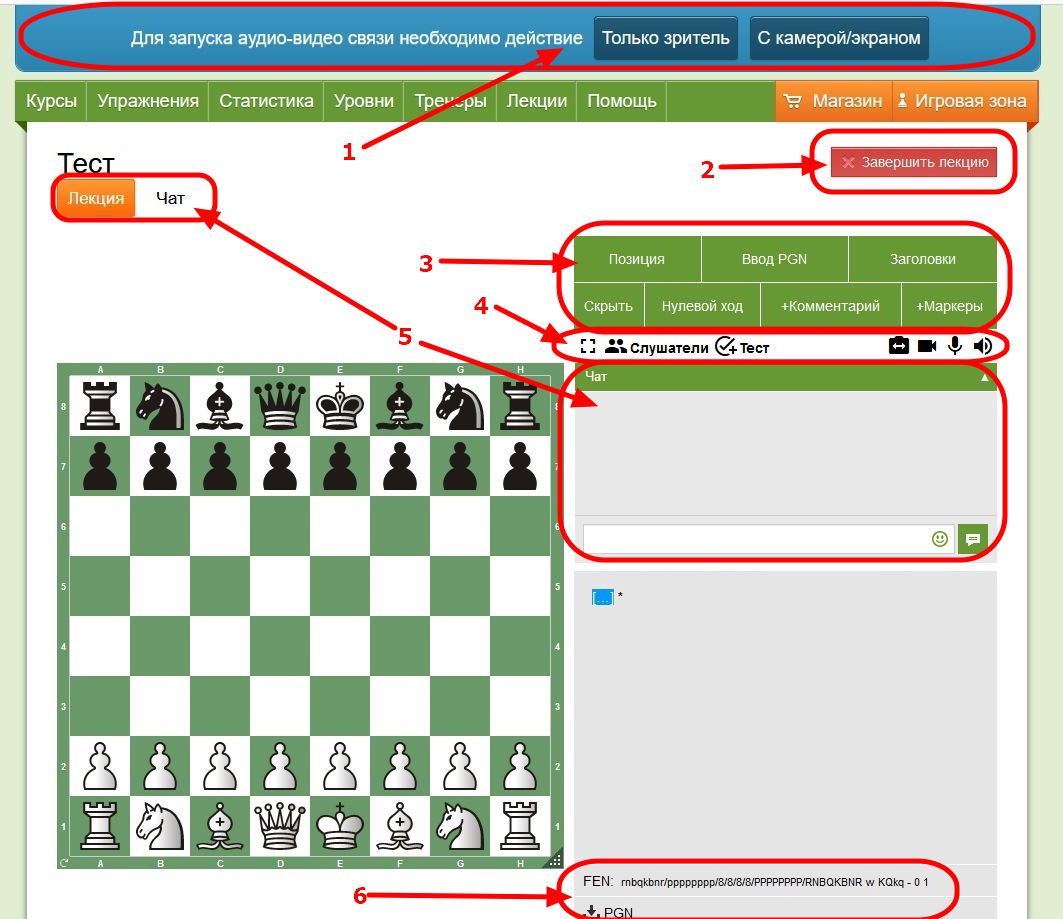 Разберем подробнее важные элементы управления.
 -
Вариант "С камерой/экраном" предназначен для лекторов, этот режим позволит вам показывать участникам лекции видео с вашей камеры, а также демонстрировать экран вашего компьютера, показывая таким образом заранее подготовленные обучающие материалы.
Видео может быть полезно при работе с маленькими детьми, оно может помочь поддержать концентрацию и внимание учеников. Однако, экран с видео будет довольно маленьким и чего-то грандиозного от этой опции ждать не стоит.
Функция демонстрации экрана может быть полезной, если у вас есть свои материалы в сторонних программах и форматах, которые вы хотите использовать для проведения занятий. Опция демонстрации экрана возможна только если на устройстве есть видеокамера, пока это такое техническое ограничение. При этом можно и не включать видеокамеру, а пользоваться только демонстрацией экрана, но камера все равно должна у вас быть.
-
Вариант "Только зритель" подойдет для учеников, а также для вас, если вы не планируете пользоваться ни видеокамерой, ни демонстрацией экрана.
Мы рекомендуем ученикам использовать опцию "Только зритель", поскольку видеосвязь увеличивает нагрузку на устройства, и может вызывать “тормоза” у учеников, подключившихся со слабых телефонов или планшетов.
- Скрыть: скрывает для слушателей все ходы после текущего. Может быть полезно, если вы загрузили партию в формате PGN и хотите обсудить какие-то моменты, не раскрывая, какие ходы были сыграны далее.
- Нулевой ход: передает ход другой стороне. Полезно для рассмотрения примеров, в которых расклад полностью меняется в зависимости от того, чей сейчас ход.
- + Комментарии: Вставляет/редактирует текстовый комментарий к текущему ходу.
- + Маркеры: Вставляет/редактирует маркеры к текущему ходу. Вы также можете расставлять и удалять маркеры правой кнопкой мыши – см. ниже, в разделе "Шахматная доска".
- ⛶ – скрывает для слушателей все ходы после текущего. Может быть полезно, если вы загрузили партию в формате PGN и хотите обсудить какие-то моменты, не раскрывая, какие ходы были сыграны далее.
-
Слушатели –
нажав на эту кнопку, вы откроете список управления слушателями. Напротив каждого участника в списке вы увидите иконки:
-
 –
выдача управления доской этому слушателю. У пользователей с доступом появится Панель инструментов и возможность делать ходы на доске. Рядом с надписью “Слушатели” вы увидите, сколько сейчас учеников слушает вашу лекцию.
-
 –
включение/выключение камеры участника. Доступно, если у слушателя подключена камера.
-
 –
включение/выключение микрофона участника. Доступно, если у слушателя подключен микрофон.
-
-
 –
Кнопка позволяет выдать тест всем слушателям. По умолчанию в качестве позиции для теста используется текущая позиция на доске, но ее можно поменять в открывшемся меню. Также необходимо задать правильный ход, можно сменить число выдаваемых за правильный ответ очков и время на решение. Когда все введено, запустите тест, нажав на оранжевую кнопку с галочкой.
-
Оставшиеся кнопки управляют звуком и видео с вашей стороны.
 , в этом же порядке: Начать демонстрацию экрана; Включить/выключить камеру; Включить/выключить микрофон; Включить/выключить звук.
 , вы можете скачать текущую партию с комментариями и метаданными в формате PGN.
-
Правая кнопка мыши позволяет быстро нарисовать самые часто используемые маркеры.
-
Правый клик по полю выделит это поле. По умолчанию цвет выделения - зеленый. Если в момент клика удерживать Shift, Ctrl или Alt, то цвет будет другой.
-
Зажав правую кнопку и перетащив курсор с одного поля на другое, вы поместите на доску маркер-стрелку зеленого цвета. Если в это время удерживать Shift, Ctrl или Alt, то цвет будет другой.
-
Зажав Ctrl и сделав левый клик по выделенному маркером полю, либо по начальному или конечному полю стрелки, вы удалите этот маркер.
-
Правый клик по полю выделит это поле. По умолчанию цвет выделения - зеленый. Если в момент клика удерживать Shift, Ctrl или Alt, то цвет будет другой.
-
Кнопка “Маркеры” на Панели инструментов позволяет использовать все доступные маркеры: изогнутые стрелки, подсветку полей, крестики, изображения.
 – выдача управления доской слушателю.
